Tutorials

Shelter Photo Summary - Week of OCT 17 2016

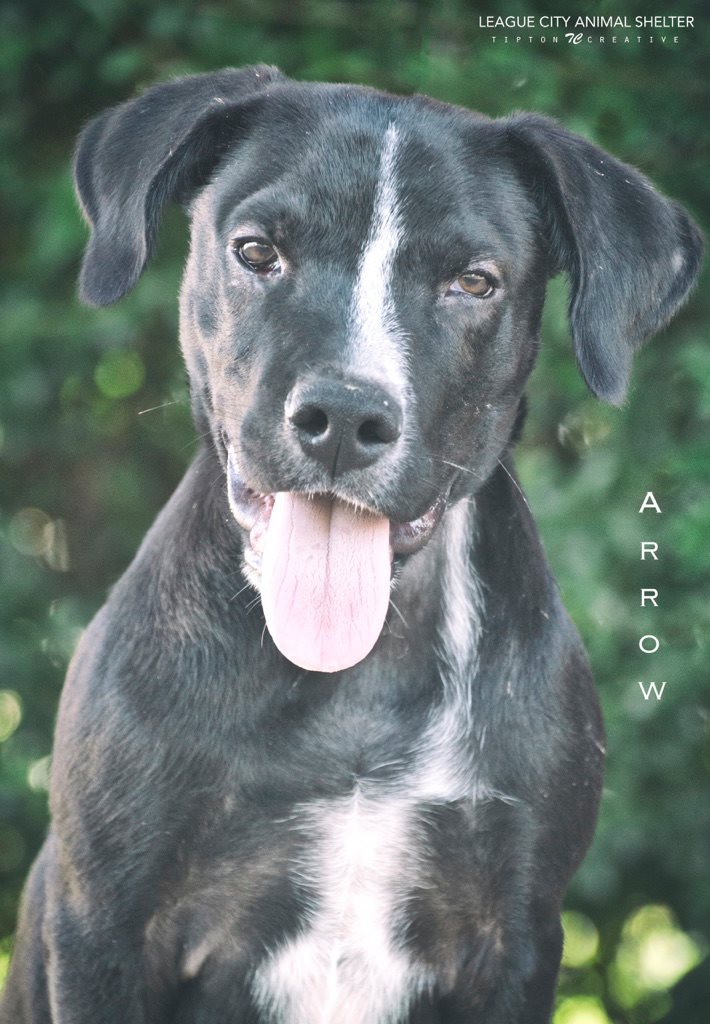
Two shelters this week. Both League City and Bayou Animal Services have so many homeless animals that are needing a loving home. Below are the ones I took photos of...they are in no certain order and the shelter is noted on the photo itself. #adoptdontshop

"Until one has loved an animal a part of one's soul remains unawakened." - Anatole France

I will close with my favorite out-take of the week. This baby was very scared by all the noises of the barking dogs around her and a stranger on top of all that. My assistant/husband carried her to the spot we took her photos. She was fine once she got away from all the chaos and is a sweetheart.

Photoshop: Merging Two Photos and Masking Layers to Get Desired Elements

Layer Masks are an essential element of Photoshop. They allow you to control a layers level of transparency. 

"Layer masking allows you to hide or use as much of any one layer as you like." -- via EHow.com [Definition of Layer Masking]

I have two photos of the same scene. In one, I like the sky and in the other I like the contrast of the structure. I watched an episode of Photography Tips & Tricks where Matt Kloskowski shows how to stack images and pull out the desired elements into a final image.

Here are my two shots:

Start by opening the image with the better structure, then open the one with the better sky on top...stacking the images.

layerMaskSky-1.jpg

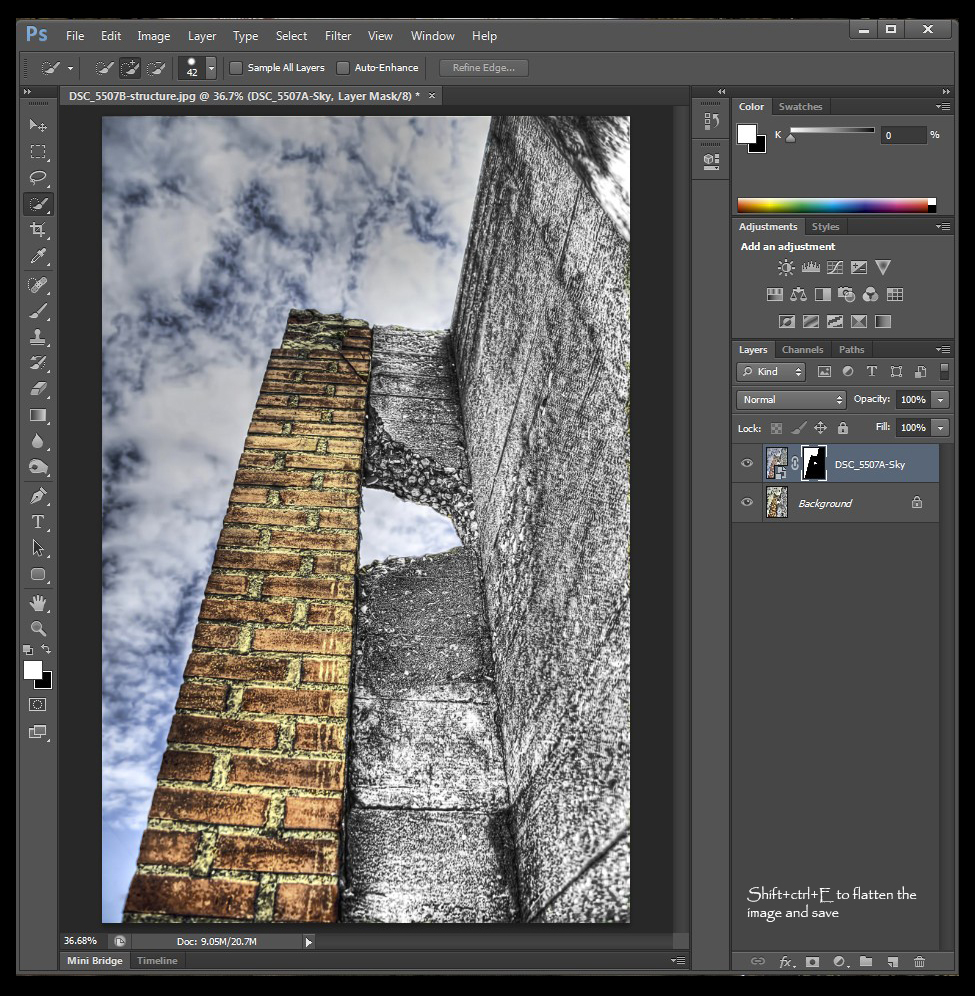
Select out the sky...not forgetting the peice of sky showing through the hole in the structure. Next, click the Layer Mask button. Doing this leaves the good sky and updates with the good structure from the image underneath.

layerMaskSky-2.jpg

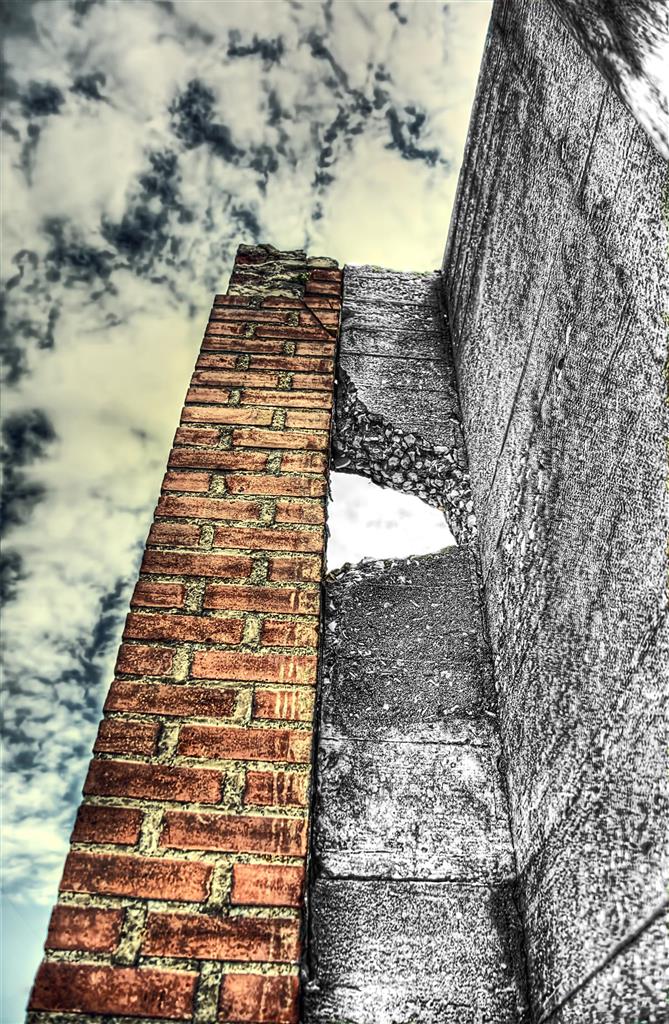
Now the photo contains the sky I like from the first image and the structure I like from the second image...creating a third image.


Highlights & Shadows in Camera RAW

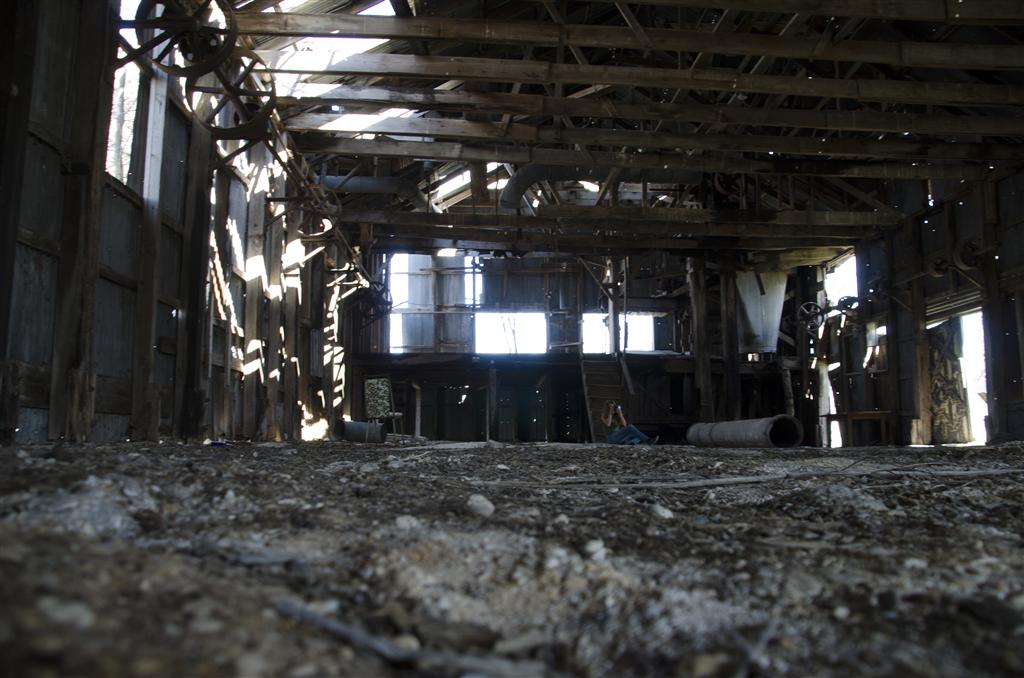
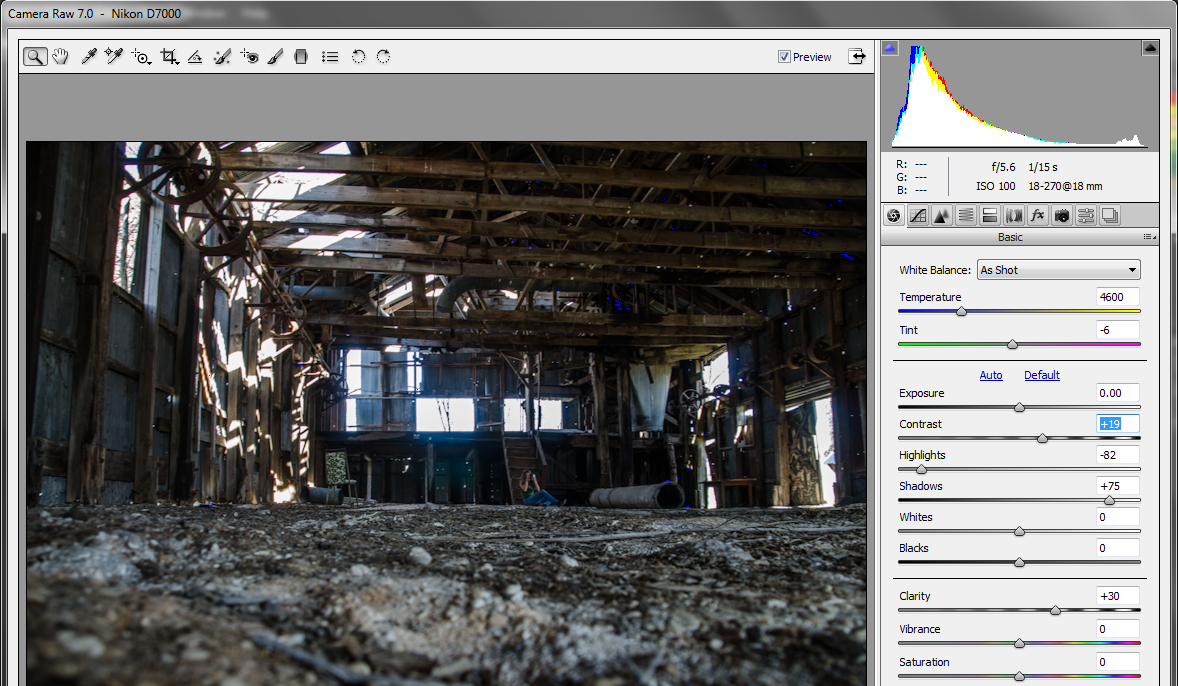
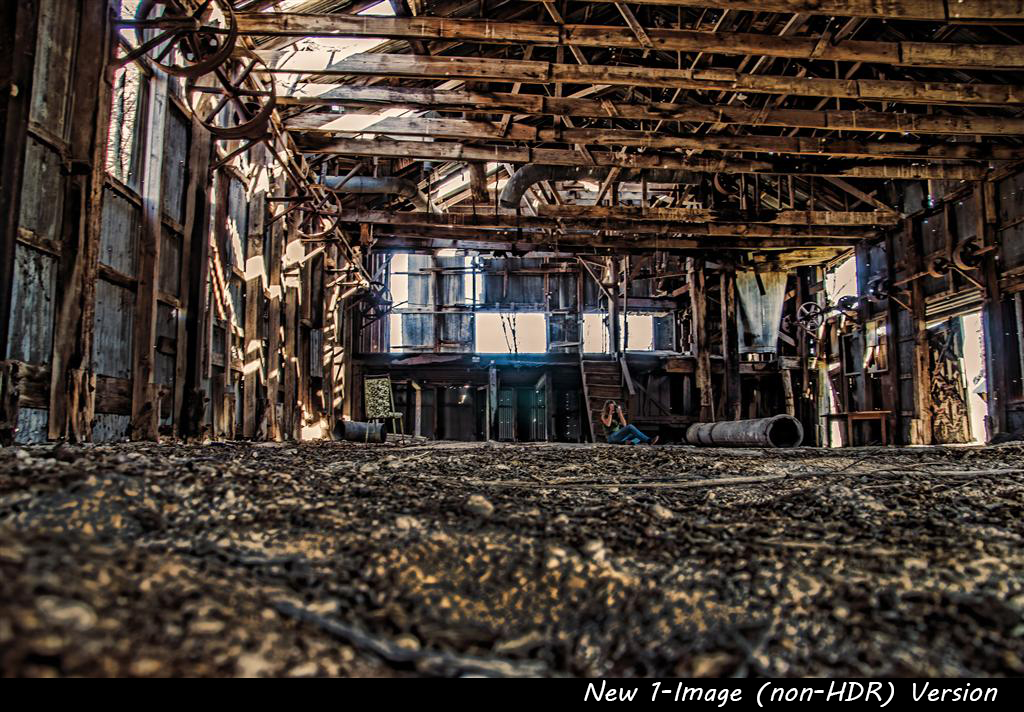
Using the new Highlights & Shadows sliders in Camera RAW 7.0, you can create images that have an HDR feel to them. As an experiment, I took the best exposure of a three exposure bracket and worked with the Contrast, Highlights, Shadows and Clarity in Camera RAW 7.0

[Original bracketed images]​

Once the image made it into Photoshop, it was at a good starting place to be processed by plugins, my favorite being Topaz Adjust. The finished single image looks very close to the 3-image HDR created previously. Actually, I kind of like the new one better and I only had to deal with one image...not three.​​

For this experiment, I used Camera RAW 7.0 and Photoshop CS6 with the Topaz Adjust plugin only. The original bracketed images were processed with Photomatix and Photoshop CS6 with the Topaz Adjust plugin.​

--​

Link Summary

1. What Happened to Adobe TV and Adobe Creative Suite

2. Topaz Adjust - filter plugin for Photoshop

3. Photomatix - HDR processing