Photos

July 2012 Project - Shades of Grey

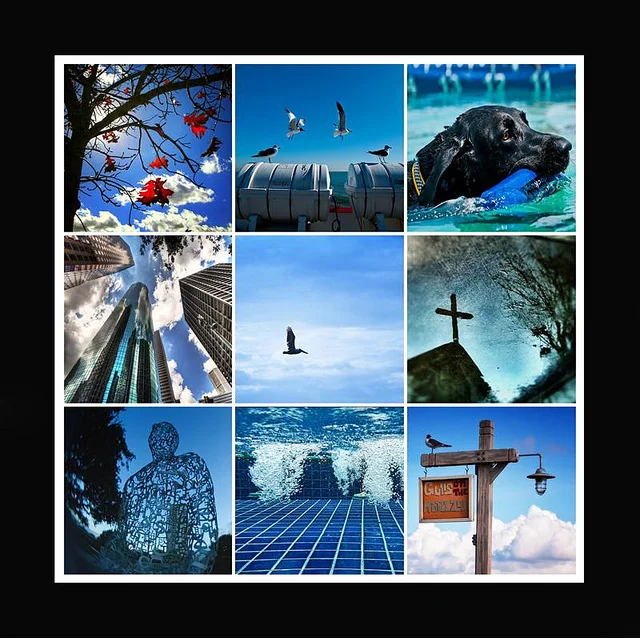
In July 2012, I decided to do a project containing only black & white shots for a month. On most days, I did go out and take the photo. There were a couple of days that I did pull a photo from my archives and converted it to black & white. My goal was to improve at producing better tones and contrast in my b&w photos. Below are the photos that I received the most feedback from.

My Shades of Grey project on  Google+ | Flickr | Facebook

Project Idea - Colors

I was reading a book I borrowed from a friend titled 50 Photo Projects, when I came across a project that sounded pretty cool. Shooting based on color…or gathering photos that have the same “dominant” color from your library. I used the collage templates mentioned in a previous post to gather sets of photos with a similar color set.

It is also interesting and inspiring to type different colors into the search on Flickr and explore the results.

Red – Blue – Green – Yellow – Orange – Purple – Pink

Projects are great for exercising creativity. I found that going through my library and grouping based on color was a worthwhile task.

Link Summary

Sepia Tones in Photos

I ran across a good article from Light Stalking recently titled Why Sepia Photography Still Kicks Ass. It made me realize …there are so many ways to add a sepia tone to photos. Of course, some methods are better than others and everyone has their own opinion on what makes a better photo.

My favorite method that I have found so far is Sepia Toning action included with Photoshop. It does a pretty nice job.

action.png

Other photos converted using the Sepia Toning action

Below are other methods of converting to Sepia that I found in my research –

  • Method 1 – Hue/Saturation adjustment layer
  • Method 2 – Channel mixer/color filter
  • Method 3 – Adjustments and variations
  • Method 4 – Photo filter adjustment layer
  • Method 5 – Gradient map adjustment layer